Cowrie SSH Honeypot
Oct 11, 2020
What is Cowrie :
It is mostly used to records the sessions of an attacker, then with cowrie we get a better comprehension on the details of the attacker such as the attacker tools, methods and procedures.
Cowrie is a simulation of your server that means that the attacker will think that they have hacked/attacked your server.
So when a attacker inputs the right data(username or password) to log into your system, the system will let them in without any error and they’ve put themselves into a fake system.
The honeypot keeps the records and tracks of the attacker such as their commands, or every keys typed in and saves everything the attacker downloaded. This is a genius way to capture an attacker.
What is a Honeypot :
One honeypot definition comes from the world of espionage, where Mata Hari-style spies who use a romantic relationship as a way to steal secrets are described as setting a ‘honey trap’ or ‘honeypot’. Often, an enemy spy is compromised by a honey trap and then blackmailed to hand over everything he/she knows.
In computer security terms, a cyber honeypot works in a similar way, baiting a trap for hackers. It’s a sacrificial computer system that’s intended to attract cyberattacks, like a decoy. It mimics a target for hackers, and uses their intrusion attempts to gain information about cybercriminals and the way they are operating or to distract them from other targets.
Install Cowrie :
I set up Cowrie in Linux Lite 5.0 Emerald, Since i don’t have a very powerful computer.
First we need to update the system :
sudo apt update
Then we install all the dependencies of Cowrie :
sudo apt-get install git
sudo apt-get install virtualenv
sudo apt-get install libssl-dev
sudo apt-get install build-essential
sudo apt-get install libpython-dev
sudo apt-get install python2.7-minimal
sudo apt-get install authbind
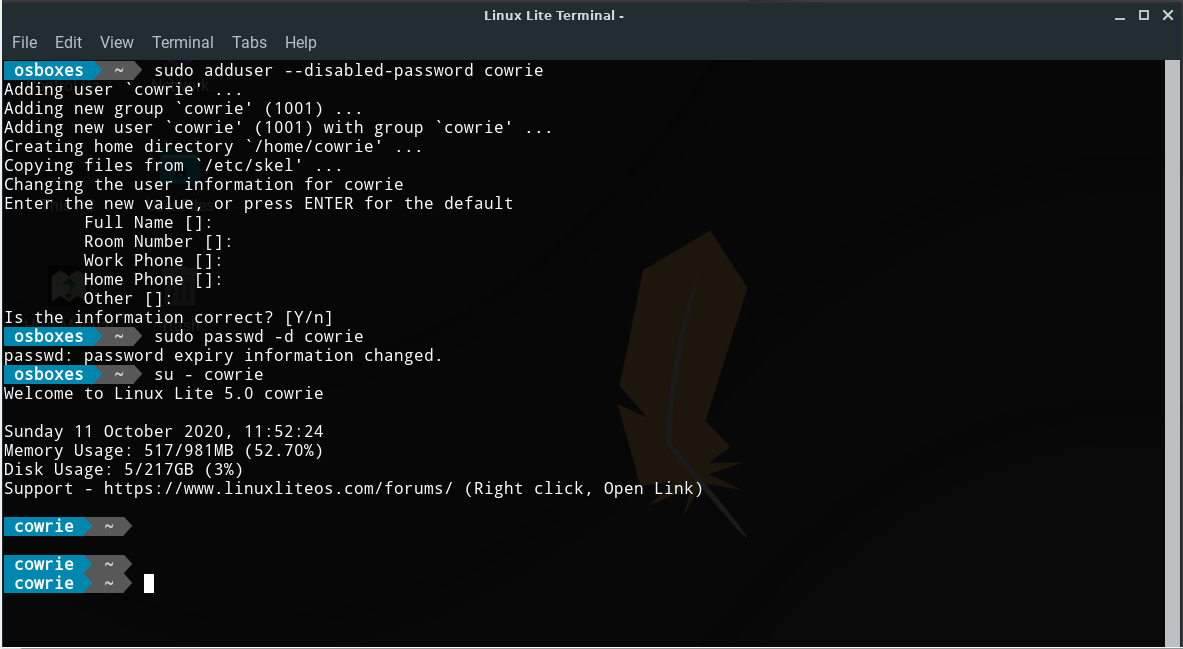
Then we need to add a user Cowrie, And disable his password :
sudo adduser --disabled-password cowrie
sudo passwd -d cowrie
And now we can change to user cowrie :
su - cowrie
Now lets clone Cowrie :
git clone http://github.com/micheloosterhof/cowrie
Now we need to create a virtual environment for Python and Cowrie to run from and activate it :
cd cowrie/
virtualenv cowrie-env
source cowrie-env/bin/activate

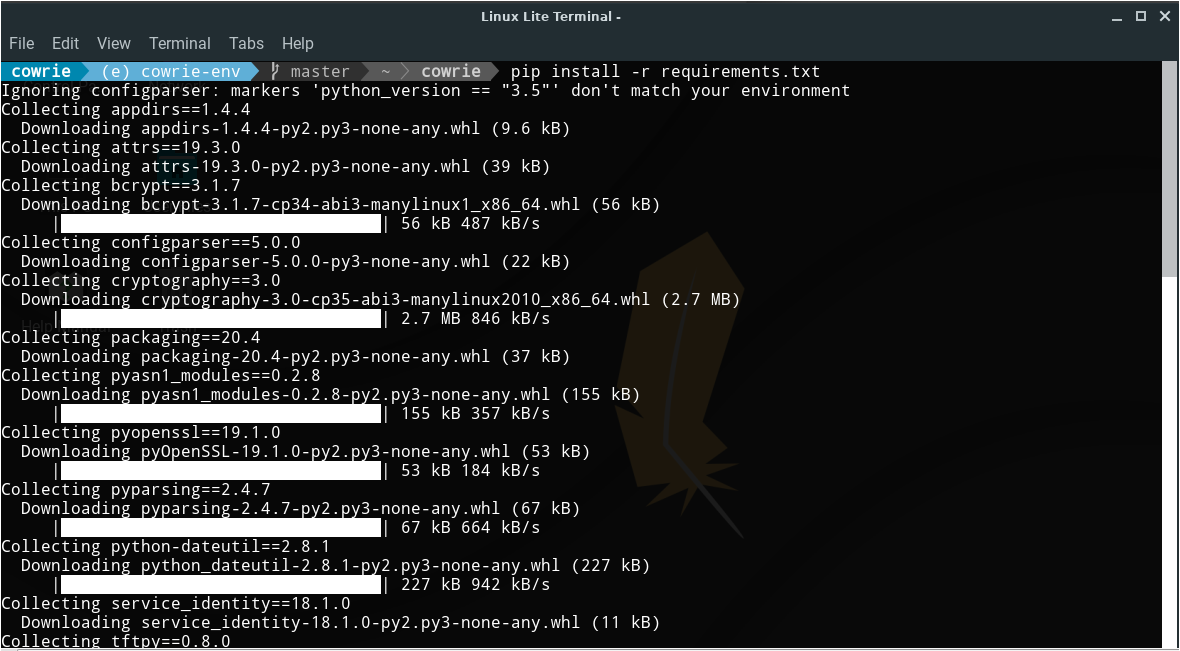
Then we need to install the requirements of python that Cowrie needs to run :
pip install -r requirements.txt
Finally let’s export the $PATH & we are ready to start daemon :
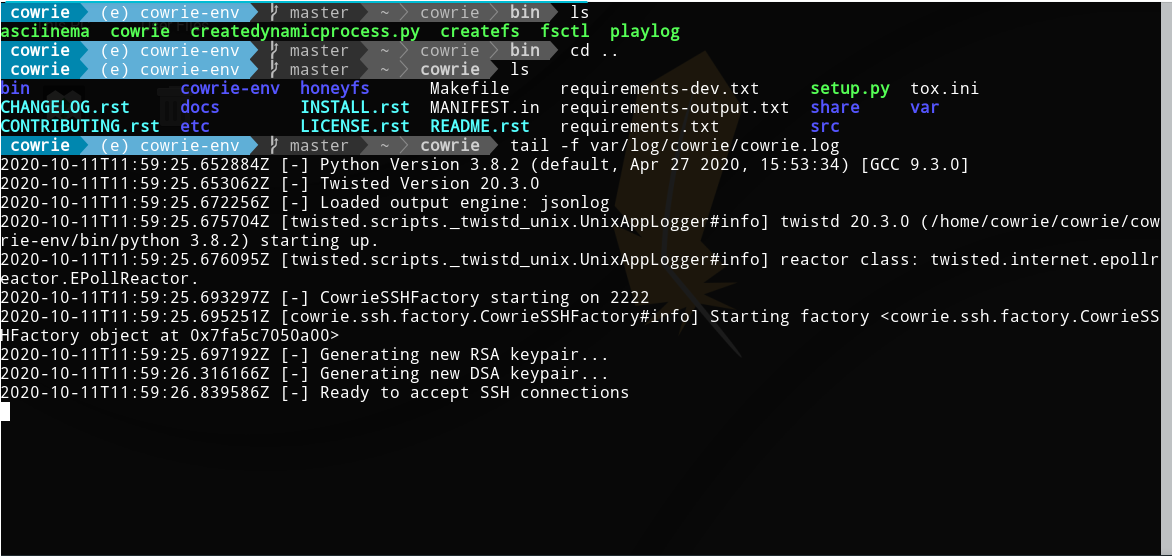
cd bin/
./cowrie start

Let’s check if everything is set to go and Cowrie is listening for connection :
tail -f /var/log/cowrie/cowrie.log
netstat -tan

Now let’s play the attacker role and connect to the server :
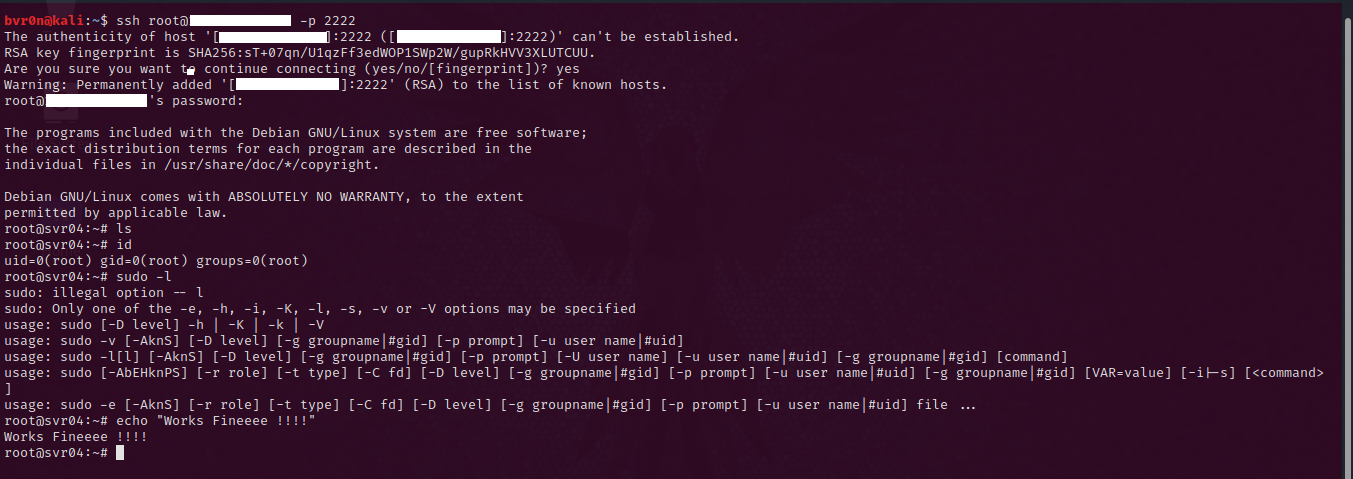
Once we’ve connected, Cowrie flagged the connection :

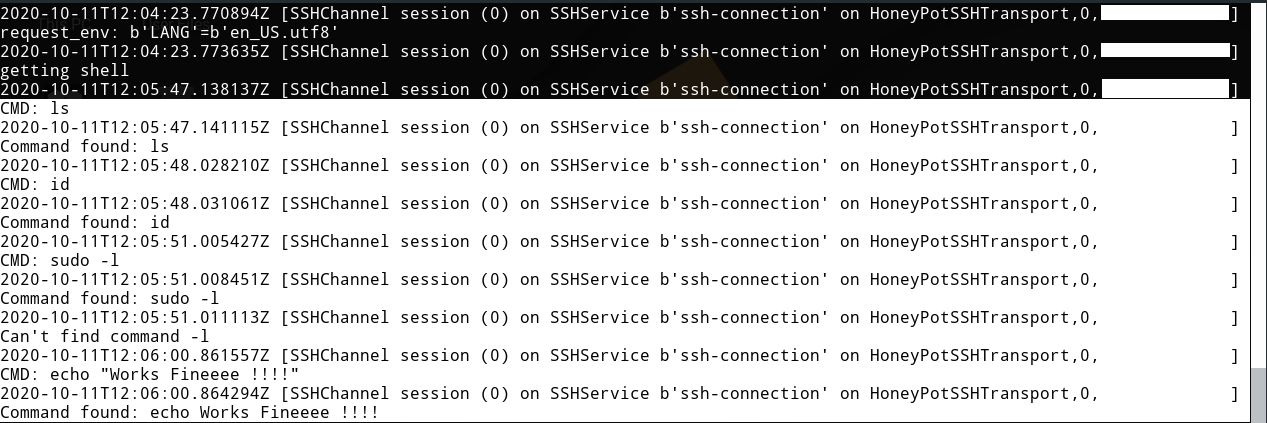
And once we started running commands, Cowrie flagged that too :
